跳到内容
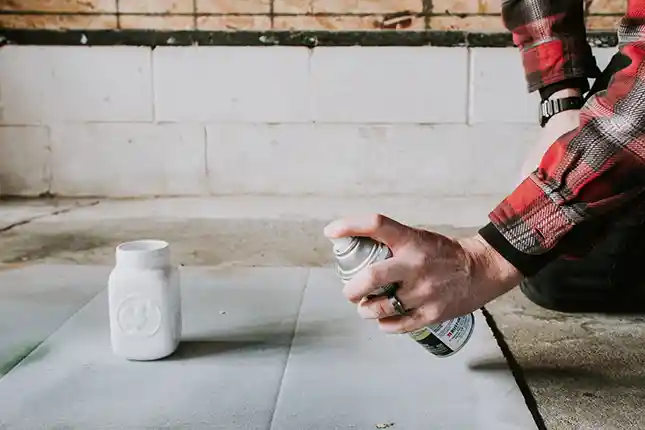
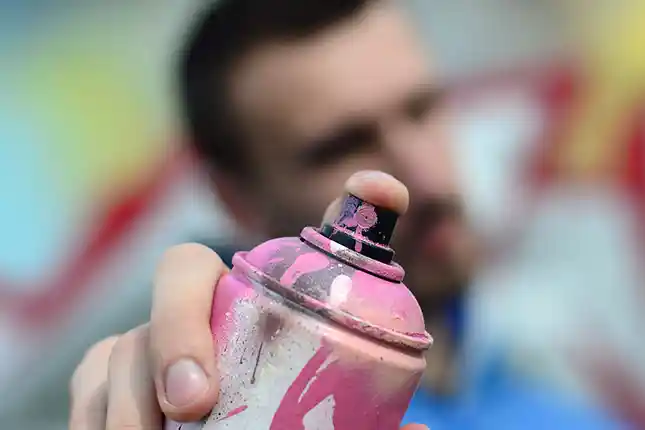
跳到内容 Today I’m going to show you 14 common issues when you use a can of spray paint in real life.
In this article, you will learn:
Let’s dive right in.
There are roughly five main reasons for the nozzle blockage problem.
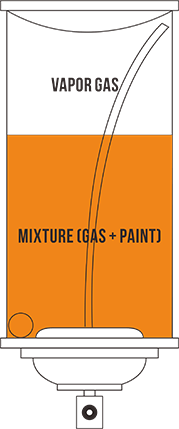
If the product is not used for a long time, the color material will deposit at the bottom of the can.
When you press the button to spray the product, the color material deposited at the can bottom is sucked into the dip-tube and then clogs the nozzle.

Then what happens?
The propellant pressure inside the can is unable to push out the liquid.
Consequently, it results in the inability to continue spraying.
The glass beads in the can collide with the can body, causing the glass beads to break.
Fine glass slags block the nozzle, making the material liquid fail to be sprayed out.

You might wait for a long time after your first spraying.
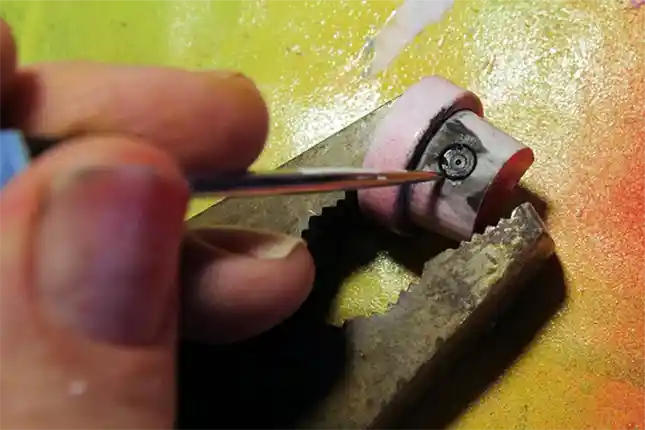
And, you did not place the can upside down to clean the nozzle orifice after spraying.
The residual paint dries and clogs the nozzle.
The spray paint can shelf life expires.
The contents inside the can turn coarse, blocking the valve discharge hole.

There are several reasons for this situation.
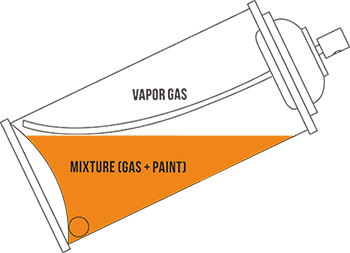
When you execute the spraying action, you hold the product entirely upside down, or the can is tilted at more than 45°.
In both cases, the propellant gas (instead of the paint) inside the can will be sprayed out through the dip-tube.
When the gas is released in large quantities, the pressure inside the can is insufficient to propel the paint out in normal use.
The product contents return to coarse, blocking the dip-tube, valve, and nozzle, resulting in the inability to spray out the paint.
When you hold the can at an angle, the remaining material cannot reach the nozzle for spraying through the dip tube.
The main reasons may be:
When you spray an item, the tilt angle is too large, resulting in a high gas content in the sprayed material. In this case, there is a possibility that some of the paint is diluted.
No water bath is carried out so that the paint inside the can is not heated. When the external airflow is not good, it can lead to the low viscosity of spray paint.
When the application is carried out at once, the spraying is too thick, and a flash color is clearly visible.
If it is rainy and humid, try to avoid it.
If the temperature is very low, heat the product.
Generally, the heating is done in a 50°C water bath. Try to spray at room temperature.
There are several reasons for this problem.
1. When you spray an item, you are far away or very close to the item, resulting in uneven atomization during the spraying process.
2. The spraying is too thick.
There are some potential causes below.
1. The sprayed product is too close to the nozzle, or the nozzle is moving very slowly.
2. The ambient air circulation is not good.
3. Insufficient surface drying time between layers when spraying multiple times.
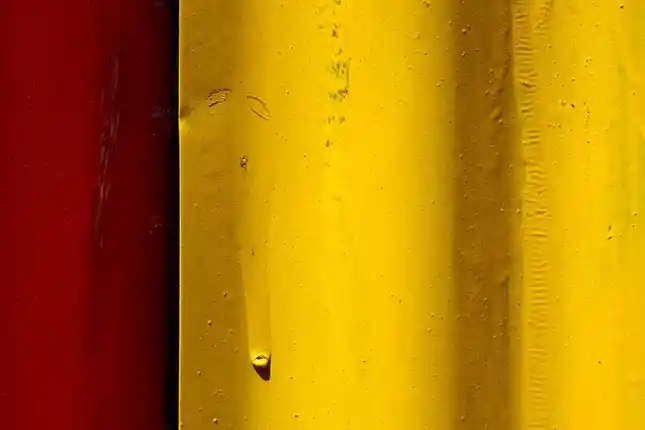
4. Sometimes, the surface to be sprayed is contaminated from the outside, producing dripping, drooping, and falling.
The typical treatment method is to ensure good ventilation and adjust the spraying distance.
The spraying distance should be kept at about 20cm.
When moving the spray paint can, try to move the nozzle at a speed of 30-60cm/s.
Of course, the object to be sprayed must also be completely clean before spraying.
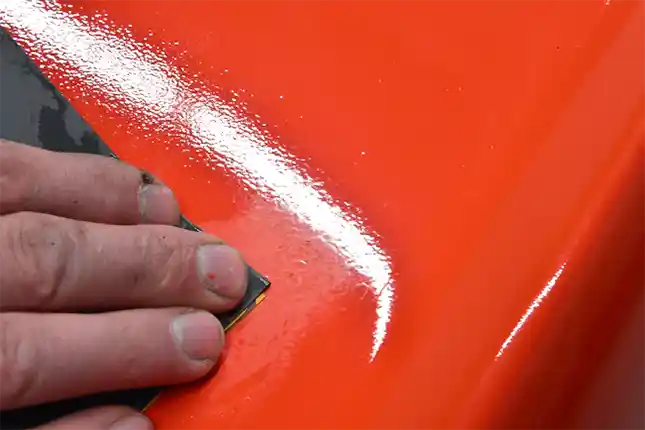
When the object being sprayed has a slight sagging, try to let the paint film completely dry and cured, then use P1500 for waxing and polishing to repair.
If the sagging is very serious, use P800 to sand the sprayed object and then repaint it.
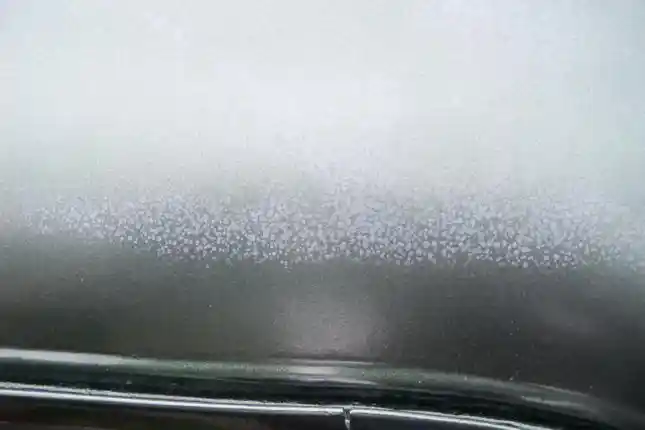
The main factors that cause the blushing of the sprayed object are:
To solve the blushing problem, we must first ensure a good ventilation environment.
Avoid working in high temperatures and avoid spraying under heavy humidity.
Suppose the object to be sprayed blushing phenomenon occurs. You can immediately add spraying whitening water or in less than 60 ℃ with infrared light baking.
If the blushing is particularly serious, you must wait until the paint film is completely dry before sanding and repairing after repainting.

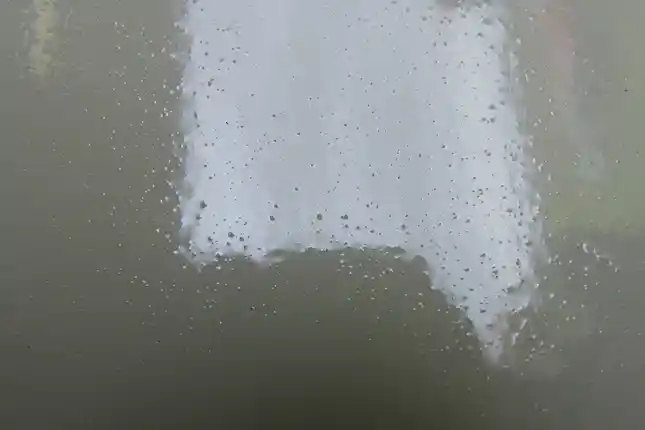
The following conditions before spraying may lead to air bubbles and paint particles.
Some areas are sprayed too thick for the sprayed object, and some areas are too thin. It’s more likely to generate air bubbles and paint particles in this case.
In addition, if the object being sprayed is contaminated, it will also cause bubbles and paint particles.
The best way to solve bubbles and paint particles is to:
1) Clean the object first
2) Then shake as well as possible before spraying so that the paint is mixed evenly.
3) Maintain consistency in force when spraying
When a slight bubble is found, you can wait for the paint to dry and solidify, then wipe with a clean cotton cloth and continue to spray again.
When there are serious air bubbles and paint particles, you can only wait until the paint film is completely dry and solid. Use P800 sandpaper to sand and then continue spraying.
The causes of this problem are:
Repeating thin spraying several times is the best way to prevent paint lifting.
Wait for the sprayed surface to dry before the next spraying.
Try not to spray on oil-based paint or one-component paint film.
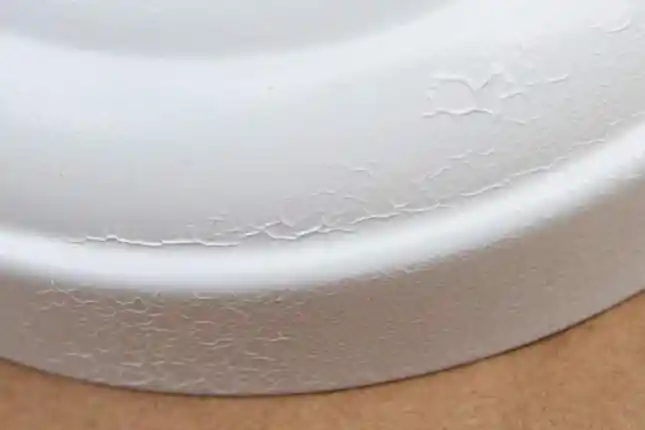
The common causes of wrinkling are as follows.
Ensure a good spraying environment. At the same time, try to achieve a thin film spraying.
If slight wrinkles appear during the spraying process, you can wait until the paint dries to sand and repair and then repaint.
However, severe wrinkles must be removed by shoveling, filled with primer, and then repainted with primer.
Generally it is caused by external pollution where there is dust or other sources of pollution.
The best way to prevent is to clean the sprayed surface, so that it is neat and clean, isolating the source of pollution.
If it is a slight particle, you can use a P1200+ sandpaper with wax to polish the surface
The reasons for this phenomenon are:
So, in addition to ensuring a good environment, you must hold good spraying techniques before spraying.
The repair method is the same as the air bubbles and paint particles.

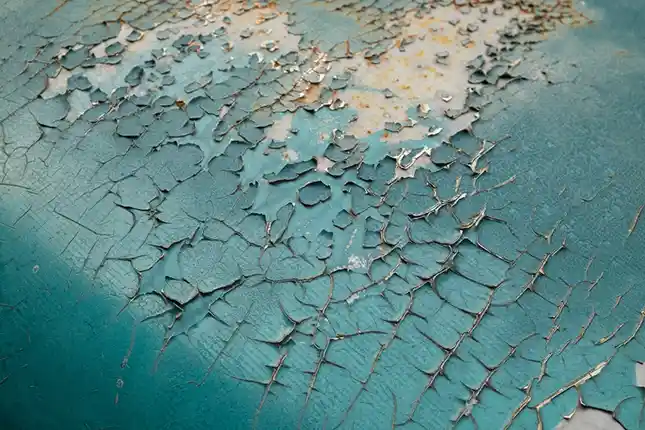
The cracking phenomenon may occur because the upper and lower paint film does not match.
Shrinkage occurs due to stress, and the hardness coefficient between the coating layer and the top coat is very different.
Or, you do not wait for the primer to dry before spraying the top coat.
Another possibility is that the top coat is too thick when spraying.
If the primer has been aged or has a chalking condition, there will also be a cracking phenomenon due to too thick spraying.
Therefore, before spraying, you must ensure that the top and bottom paint match.
If the primer layer has been aging, it must be removed and cleaned up before spraying the top coat.
The contamination of the substrate may cause the peeling phenomenon of sprayed items.
For example, oil, water, hand print, rust, dust, etc., is on the object’s surface.
Another possible cause is that the sprayed item surface is too smooth and not sanded before spraying.
Like the cracking, the old substrate is aging and chalking.
Therefore, before spraying the item, clean the surface, sand the smooth surface and remove the aging layer before spraying the top coat.

Generally, the chalking phenomenon is caused by the exposure to super sunlight or pollution by the external environment, such as the more acidic rain.
Therefore, the sprayed items should not be exposed to the sun for long. At the same time, keep the coating layer clean and tidy.
For the chalking problem, you can remove the surface spraying paint and repaint it.
By analyzing the above common problems, we can see that the environment and operating skills are key factors when spraying the items.
What problems did you face when you use spray paint cans?
Or maybe you have some other questions.
Either way, let me know by leaving a comment below right now.
 BannerText_Seraphinite Accelerator